IRON NEST Elevation & Ballistics — How to Calculate Elevation
How to calculate barrel elevation in IRON NEST: the distance-to-charge formula, manual elevation when your computer is knocked out, and the best artillery calculator.
IRON NEST Elevation & Ballistics — How to Calculate Elevation
Every shot in IRON NEST: Heavy Turret Simulator comes down to one question: what barrel elevation do I need for this target? The answer is a function of target distance and charge count — and when your fire-control computer gets knocked out mid-mission, you need to be able to do it by hand. This guide covers the elevation formula, how charges work, and the community calculator that does the math for you.
Here's what you'll learn:
- The elevation formula (target distance + charge count → firing angle)
- How charges and charge-to-range tables work
- Manual elevation when your computer is destroyed
- The community artillery calculator and how to use it
- How to diagnose short/long shots
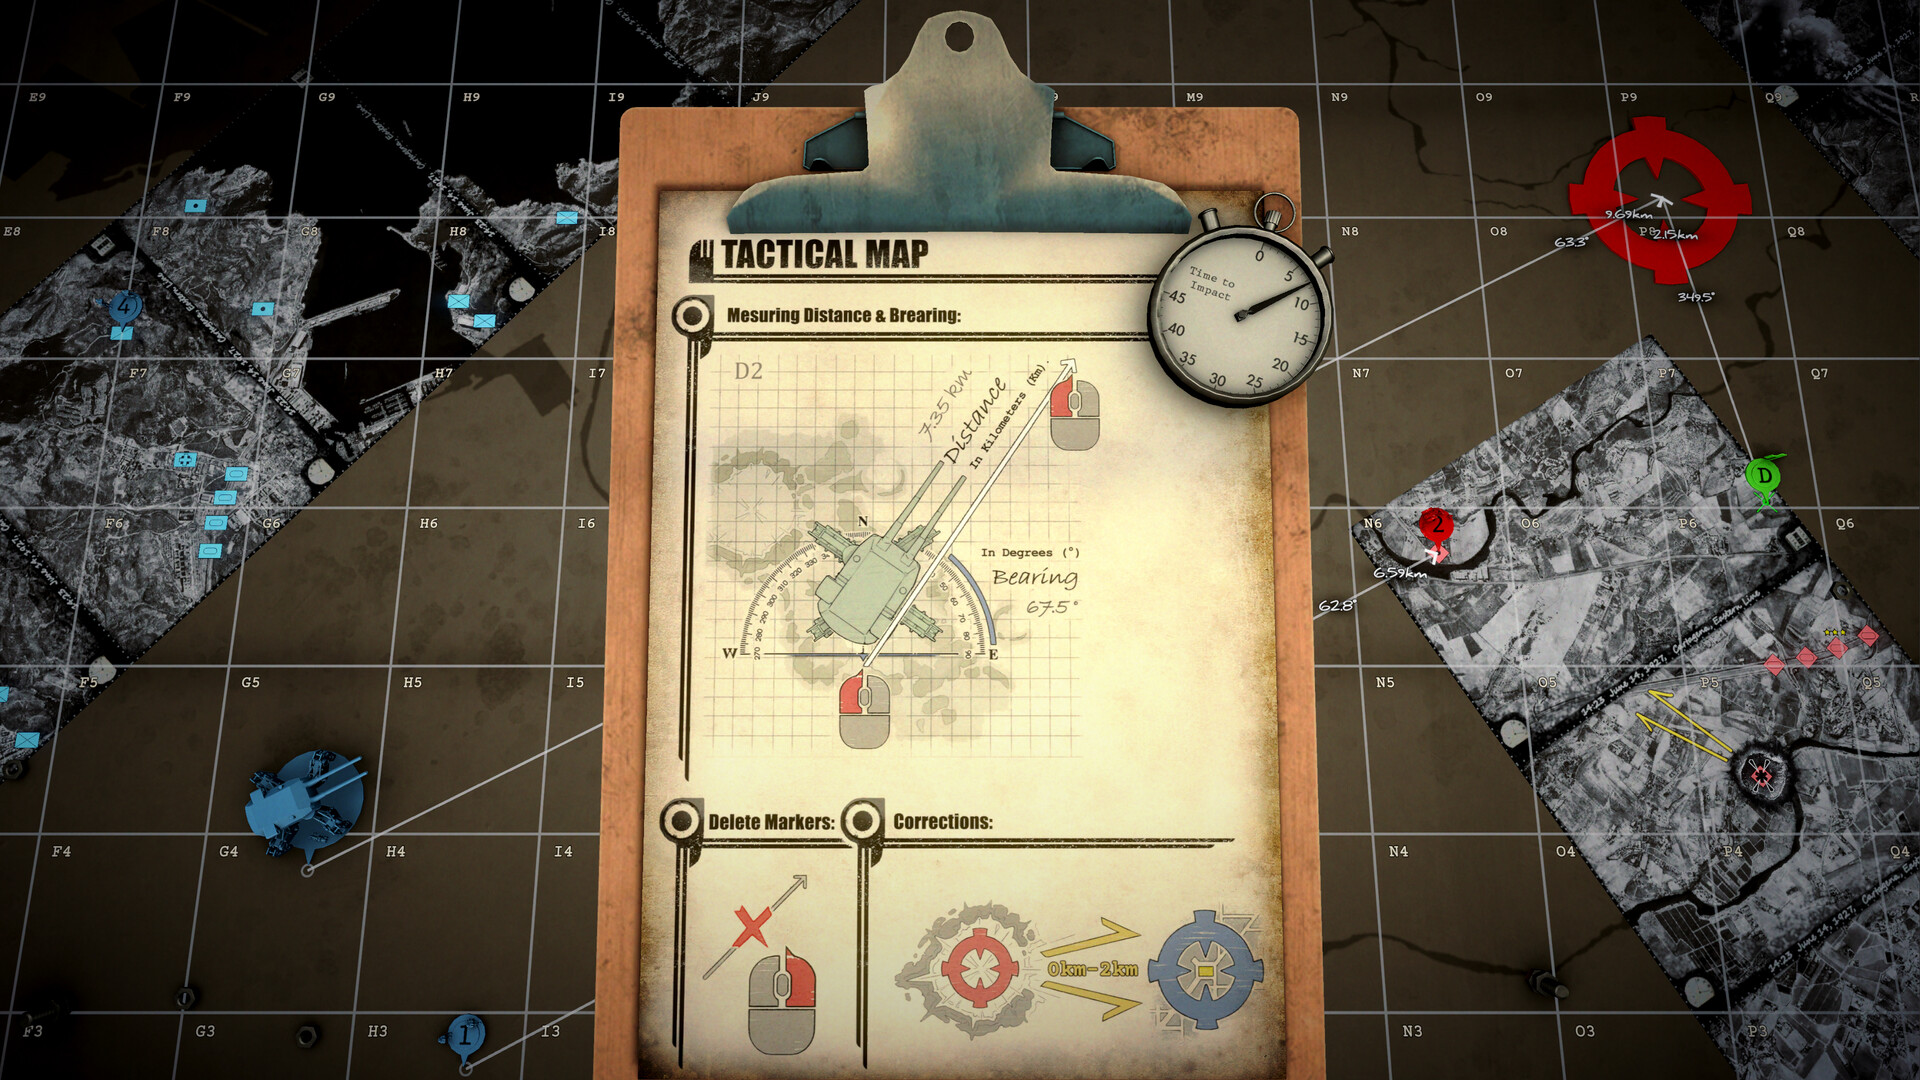
The Elevation Formula: Distance + Charge → Angle
The core relationship in IRON NEST is simple: target distance and charge count determine your firing angle.
- More distance = more elevation (higher angle)
- More charges = more propellant = longer range at the same angle
- The game's fire-control computer normally does this conversion for you — it shows the computed elevation for your current target
When the computer is alive, your job is just to read the number and turn the barrel to match. The real skill is understanding what the number means so you can recover when the computer fails.
You can't change the distance to a target, but you can change the charge. If the computer asks for an extreme angle, dropping a charge and using a flatter trajectory is often the better solution — and it wastes less powder.
Manual Elevation: Firing Without the Computer
When your fire-control instrument is knocked out, you fall back on the manual formula — the exact relationship between target distance, charge count, and firing angle that the game uses internally (documented in detail by community guides like allthings.how):
- Confirm the target distance from your triangulation (in meters)
- Select your charge count for that range bracket
- Apply the formula — the specific coefficients differ by shell type and charge, which is why the per-shell charge-to-range tables matter
- Turn the barrel to the computed angle and fire
Every shell type has its own ballistics — same charge, different shell, different range. The ironnestdb.com database publishes exact charge-to-range tables for every shell; memorize the ones you use most (or keep a cheat sheet).
How Charges Work
IRON NEST's big gun takes up to six charges of propellant. The pattern to internalize:
- Fewer charges — shorter range, flatter trajectory, faster to reload
- More charges — longer range, higher arc, slower reload, more expensive
Range tables list, for each shell, the distance each charge count covers. When a mission gives you a clean coordinate, your workflow is: read distance → look up charge → compute/set elevation → fire.
The Community Artillery Calculator
Because the math is fiddly, the community built dedicated tools — the most complete is the Artillery Elevation Calculator (arvindavidson.github.io):
- Input: target distance (meters), muzzle velocity, fire mode (direct/indirect)
- Output: computed barrel elevation
- Observer mode: easting/northing, bearing from observer, observer elevation, elevation difference — for computing target details from observer reports
- Map export: export the map with your computed positions
The calculator's observer section is the fastest way to convert "bearing X, distance Y from the forward observer" into a target grid reference — feed it the report and it hands you the firing solution.
Direct Fire vs Indirect Fire
IRON NEST distinguishes two firing modes, and they change your elevation math:
- Direct fire — you can see the target; flat trajectory, lower angles, faster to align
- Indirect fire — target beyond line of sight; high arcs, heavier charge counts, and every calculation matters more
The community calculator asks for the fire mode up front because the elevation formula differs between them. Most campaign missions are indirect fire — which is why triangulation (getting the distance right) is the skill that carries you.
In direct fire you can see and correct visually. In indirect fire, a distance error becomes both a range error and an elevation error — which is why a sloppy triangulation wastes two shells, not one.
The Firing Workflow (Triangulate → Range → Elevation)
The full loop that wins missions:
- Triangulate the target to a grid reference (see our triangulation guide)
- Measure distance from your position on the war table
- Select the charge for that distance from your shell's charge-to-range table
- Compute/set elevation — via the computer, the manual formula, or the calculator
- Fire and correct — adjust one variable at a time based on the spotter's call
The fire-control computer handles step 4 automatically most of the time. What the game actually tests is steps 1–3: knowing where the target is and which charge reaches it. Practice those and the elevation number is just confirmation.
Diagnosing Short & Long Shots
Diagnosing Short & Long Shots
A miss tells you which variable is wrong:
- Shell falls short — too few charges, or elevation too low. Add a charge or increase the angle.
- Shell overshoots — too many charges, or elevation too high. Drop a charge or lower the angle.
- Shell lands left/right — that's bearing/traverse error, not elevation. Re-check your triangulation rather than the angle.
After a miss, change exactly one thing — charge or elevation, never both. Changing both at once means you can't tell which was wrong, and you'll burn shells chasing the error.
FAQ
How do you calculate elevation in IRON NEST? The firing angle is a function of target distance and charge count — the fire-control computer computes it, or you use the manual formula (distance + charge → angle) when it's knocked out.
What is the manual elevation formula in IRON NEST? The exact distance-to-charge-to-angle relationship used by the game, documented by community guides — coefficients differ per shell type, so you reference each shell's charge-to-range table.
Is there an IRON NEST calculator? Yes — the community Artillery Elevation Calculator (arvindavidson.github.io) computes elevation from distance, muzzle velocity and fire mode, and has an observer mode for converting observer reports.
What do charges do in IRON NEST? Charges are propellant — up to six. More charges = more range (higher arc, slower reload); fewer = shorter range, flatter trajectory.
Why is my shell falling short in IRON NEST? Usually too few charges or too low elevation — add a charge or raise the angle. Overshooting means the opposite.