How to Triangulate in IRON NEST — Find Every Target Easily
Learn how to triangulate in IRON NEST: the War Table grid (A–T × 1–10), reading forward observer bearings, crossing two lines, and placing your target token.
How to Triangulate in IRON NEST — Find Every Target Easily
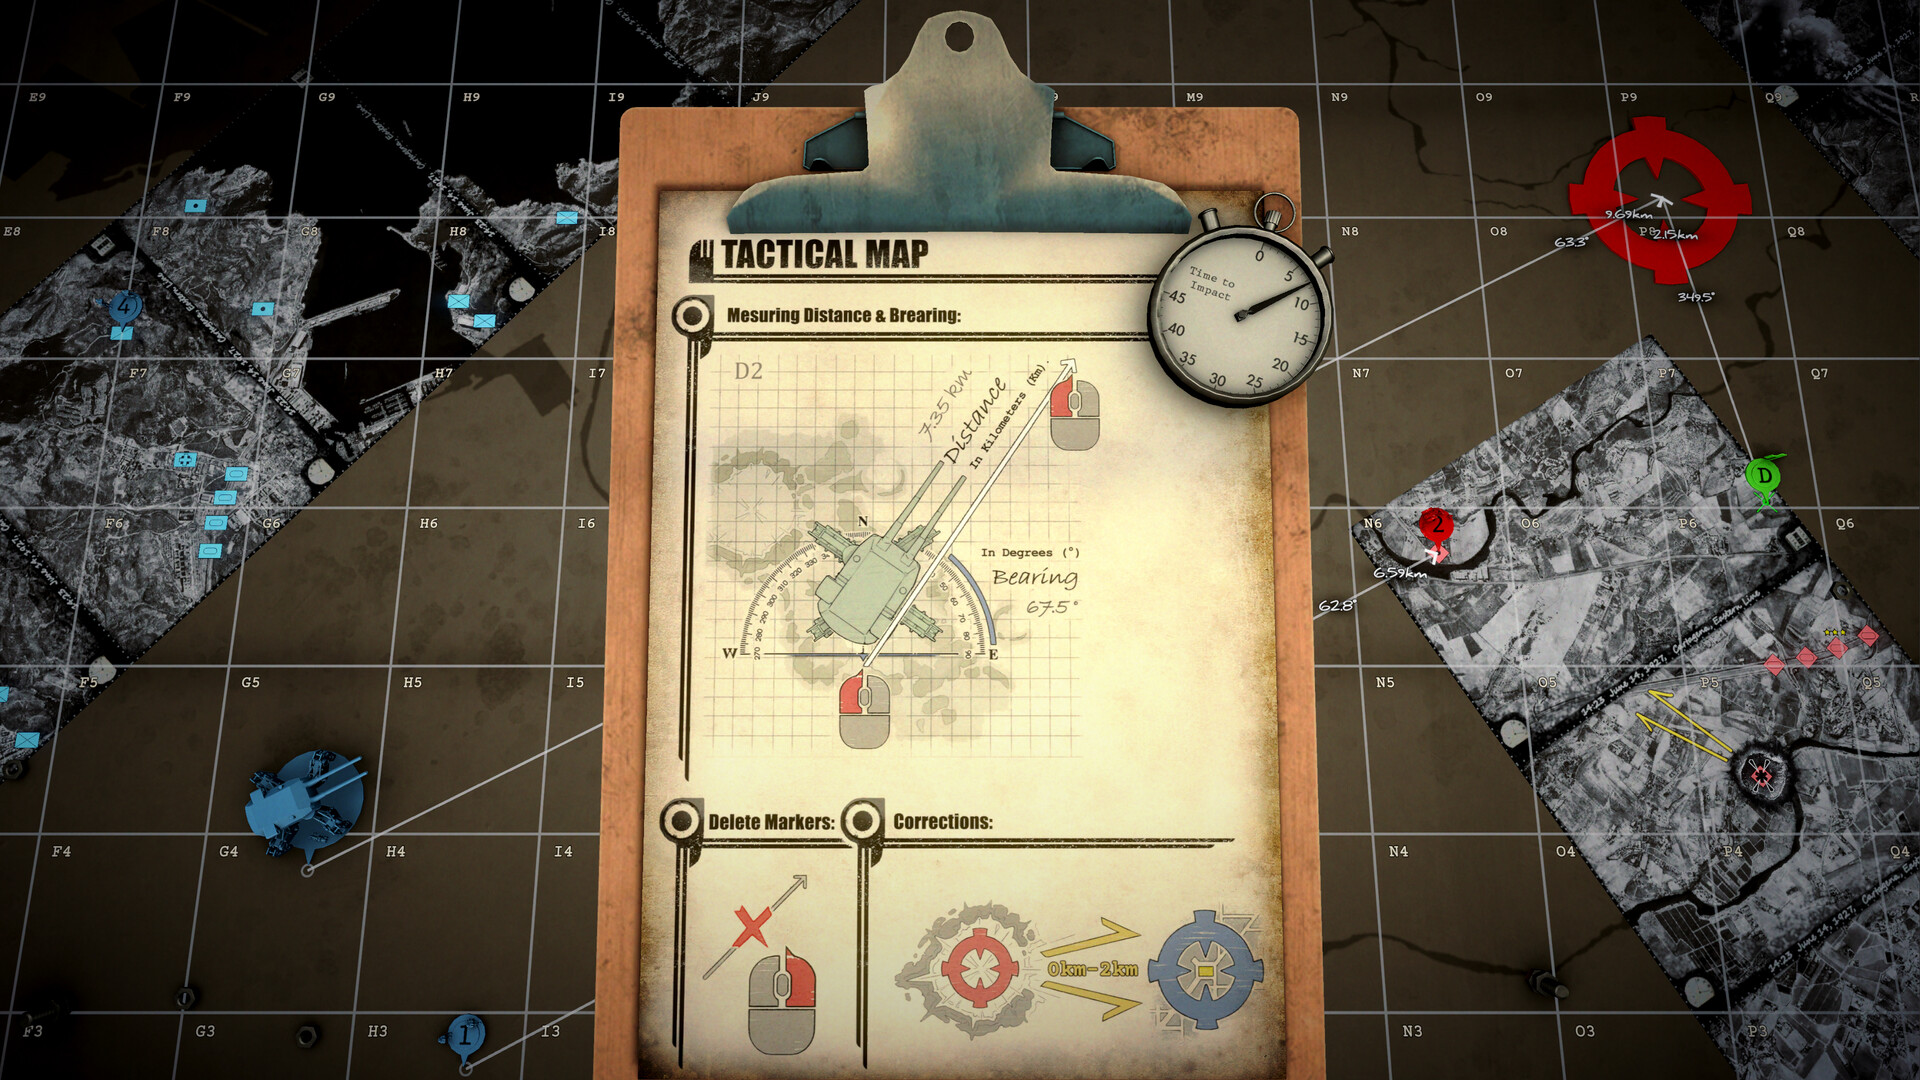
Triangulation is the real heart of IRON NEST: Heavy Turret Simulator. You almost never get a clean grid coordinate handed to you — instead you receive bearings and distances from spotters and reference points, and you have to turn that data into an exact map location before you can hit anything. Miss this step and you're firing blind. This guide walks through the whole system: the war table grid, reading observer reports, and the exact steps to pin a target.
Here's what you'll learn:
- How the IRON NEST war table map is structured (columns, rows, sub-grids)
- How to read a forward observer's report
- The exact triangulation steps (cross two bearings, place your token)
- Common mistakes that make you miss
- When you can skip triangulation
The War Table Grid: How the Map Works
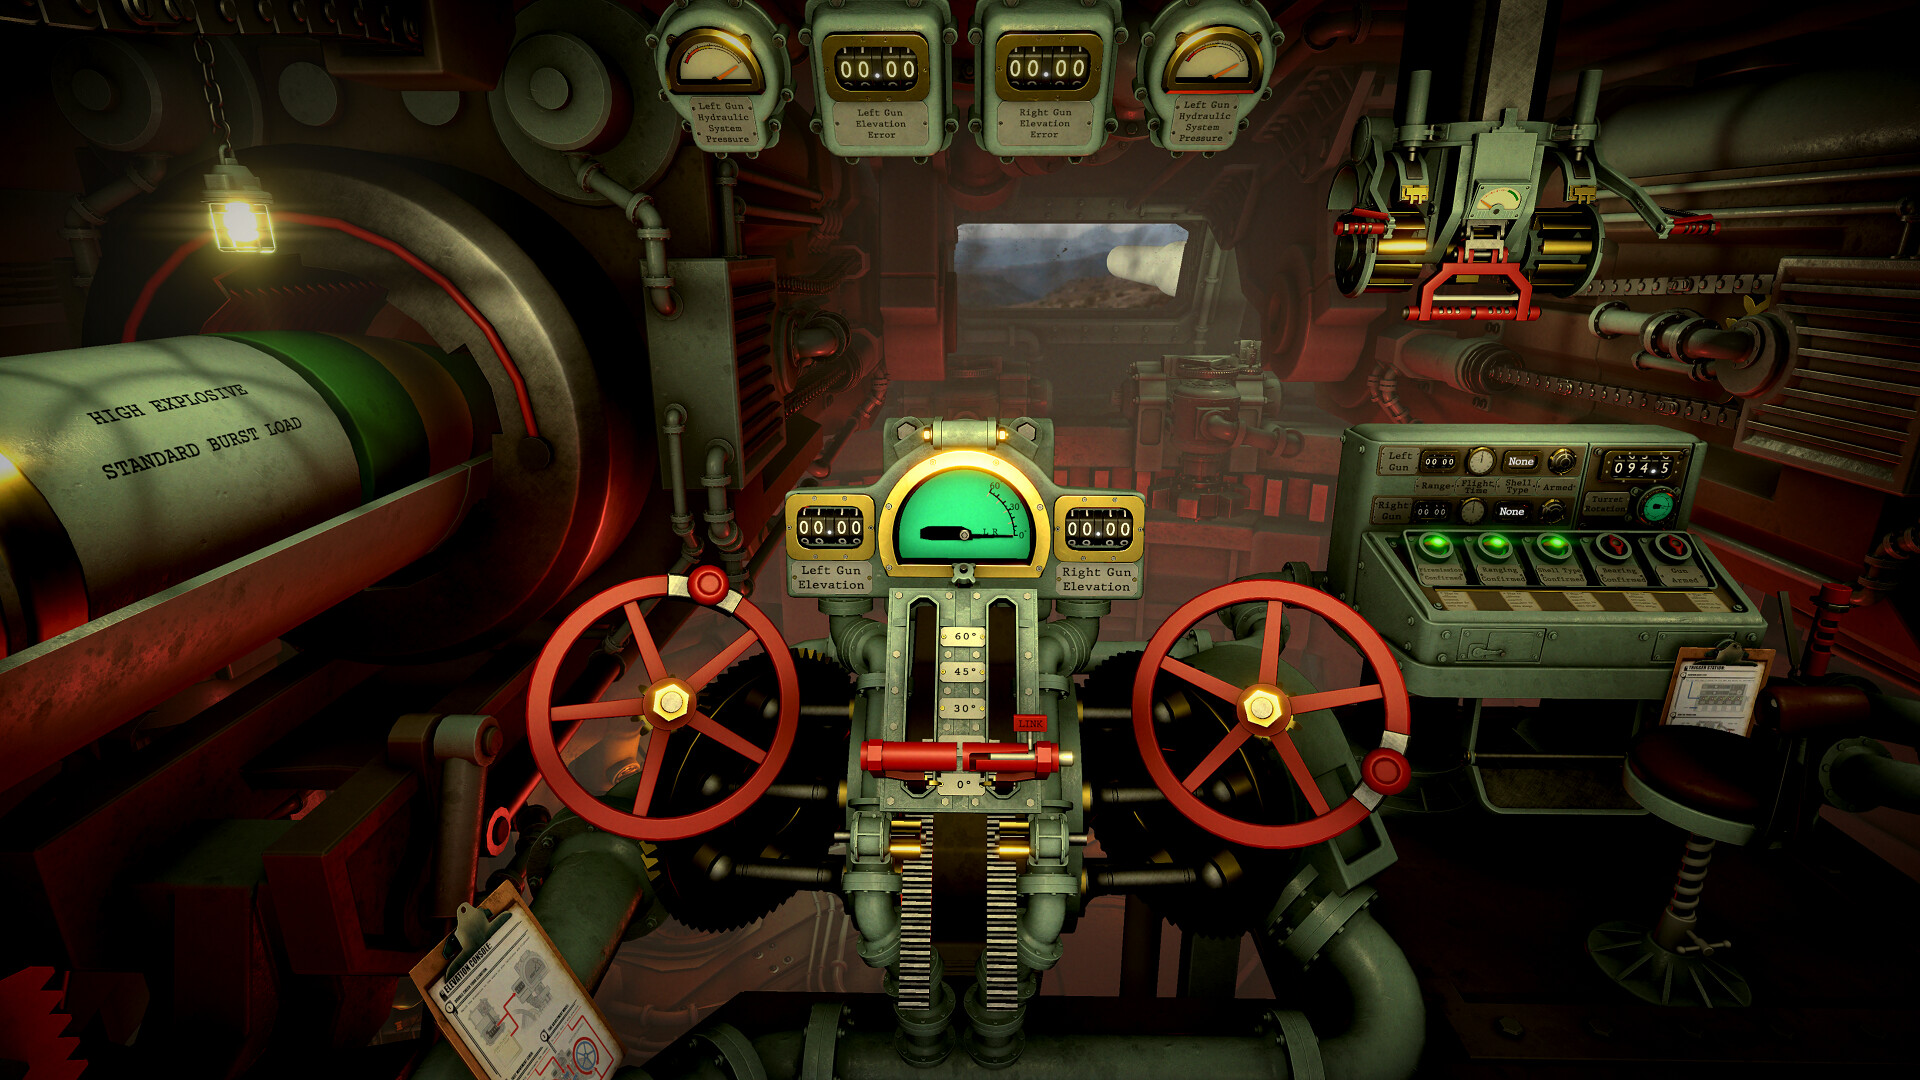
Before any triangulation, you need to read the IRON NEST war table correctly:
- Columns run A to T (left to right)
- Rows run 1 to 10 (bottom to top)
- Every large square is divided into a 10×10 sub-grid — 0–9 left to right, 0–9 bottom to top
So a full grid reference looks like C7 · 4-3 (column C, row 7, sub-cell 4 right, 3 up). The sub-grid is where the precision lives — a target pinned to the wrong sub-cell can still be off by hundreds of meters.
Being "close enough" on the large square is not close enough for a 30 km gun. The sub-grid is the difference between a first-round hit and a wasted charge.
Reading a Forward Observer Report
The game feeds you targets through forward observer reports — written intel describing what a spotter sees. A typical report gives you:
- A bearing (compass direction) from the observer's position
- A distance estimate from a reference point
- Sometimes a second bearing from a different observer
Your job is to convert those words into map coordinates. Two bearings from two different positions are the gold standard — where the two lines cross on the map is the target.
Triangulation, Step by Step
- Open the war table and identify the reference points named in the report
- Draw the first bearing — from observer 1's position, along the compass direction given
- Draw the second bearing — from observer 2's position (or the same observer with a corrected bearing after moving)
- Mark the crossing point — that intersection is your target
- Convert it to a grid reference — read column, row and sub-cell
- Place your target token on that sub-cell
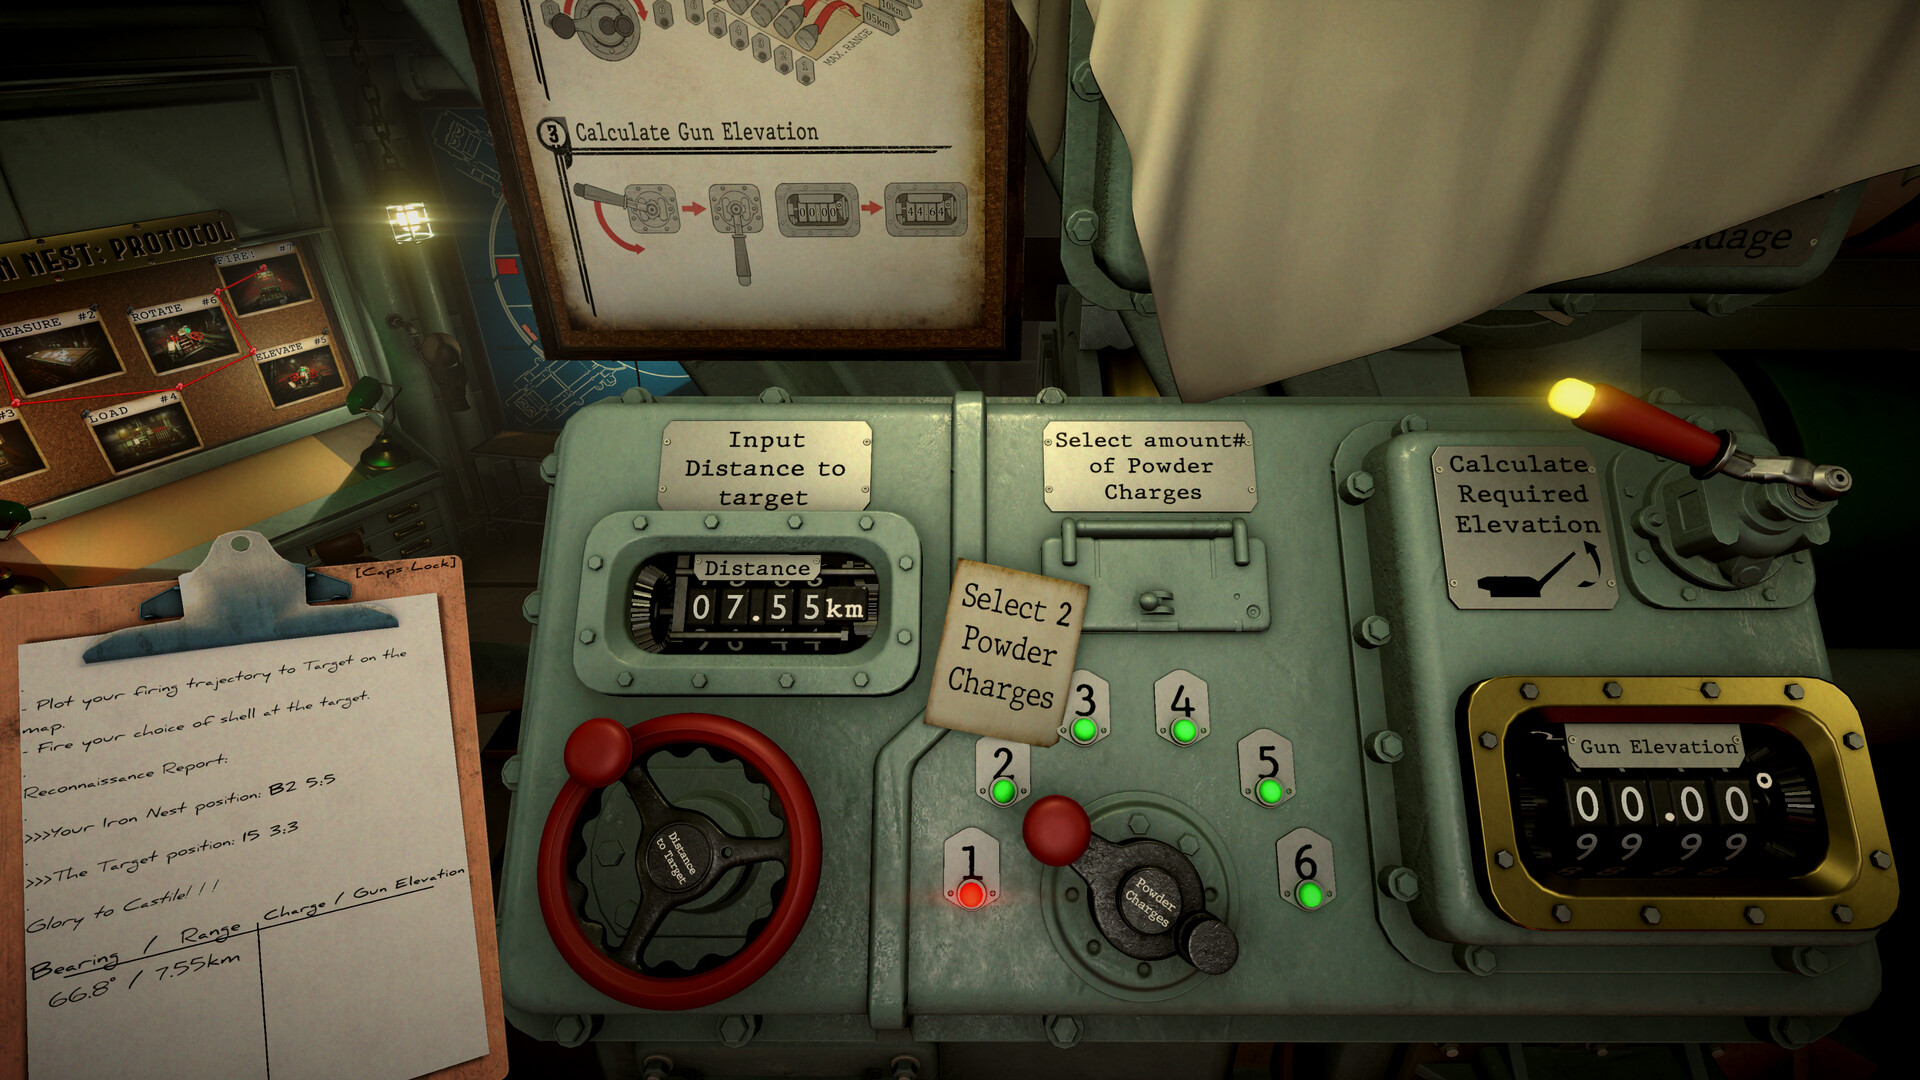
- Range it — use the distance and your ballistics tables (charge count → range) to set the gun
Reports are estimates. If your first round lands well off, re-read the observer report and re-draw the lines — a stale bearing is the #1 cause of wasted shells.
Working With the Scout Plane & Spotter Tools
Some missions give you more than paper reports. When they do, use them:
- The Scout Plane — fly it over the target area to confirm ranges and mark positions. It's the fastest way to correct a stale bearing, especially on moving targets.
- Observer updates — spotters call in corrections between shots ("drop 50, left 30"). Treat these as micro-triangulations: each correction narrows the error, and stacking two or three lands you on target.
- Reference-point targets — "target is X meters due north of landmark Y" is a single-bearing fix; plot the landmark, measure the distance on the war table, and you're done.
When you're genuinely lost, fly the scout plane rather than burning shells on trial fire. One recon pass confirms what three blind rounds can't.
A Worked Example
Here's a typical mid-campaign flow, end to end:
- Briefing: observer reports "enemy battery, bearing 047° from the church, roughly 3 km out"
- Plot: find the church on the war table, draw the 047° line from it
- Cross-check: a second observer gives 318° — draw it; the lines cross at E8 · 6-4
- Range: the crossing point measures ~3.1 km — look up charge 3 on your shell's table
- Fire: set elevation, load charge 3, fire
- Correct: first round lands 60 m short — "add 60" from the spotter, bump to charge 3+ (or raise elevation slightly), fire again
That loop — plot, cross, range, fire, correct — is the entire game in miniature. Master it and you'll stop missing.
Common Mistakes That Make You Miss
Common Mistakes That Make You Miss
- Wrong sub-grid precision — pinning the large square but not the sub-cell
- Reading rows bottom-up as top-down — row 1 is at the bottom, not the top
- Ignoring the observer's position — the bearing starts from the spotter, not from your gun
- Not re-checking after a miss — the first round tells you where the error is; adjust, don't repeat
- Skipping the range table — a perfect bearing with a wrong charge count still misses
When Can You Skip Triangulation?
Some missions hand you a clean grid coordinate directly — in those cases you can go straight to ranging. You'll also find reference-point targets where the game tells you "target is X meters due north of landmark Y" — a single bearing plus distance from a known point is enough there.
The demo/tutorial missions are built for exactly this: they give you the report, you triangulate, you fire. Do them twice if you have to — the habit pays off in the campaign where shells cost real resources.
FAQ
How does triangulation work in IRON NEST? You receive bearings and distances from observer reports, draw the lines on the war table map, mark where they cross, and convert that point to a grid reference for your gun.
What is the war table grid in IRON NEST? Columns A–T left to right, rows 1–10 bottom to top, with each large square split into a 10×10 sub-grid (0–9 both ways).
How do you read a forward observer report in IRON NEST? Identify the observer's position, the bearing (compass direction), and the distance/reference point, then convert to map coordinates — two crossing bearings give the most precise fix.
Why do I keep missing targets in IRON NEST? Usually wrong sub-grid precision, misreading rows, or ignoring the observer's position — recheck the report and re-draw before firing again.
Do you always need to triangulate in IRON NEST? No — some missions give clean grid coordinates or single bearing+reference-point fixes. Triangulation is for when you get partial intel, which is most of the campaign.